Wednesday, April 14, 2010
Add cream your coffee with Photoshop
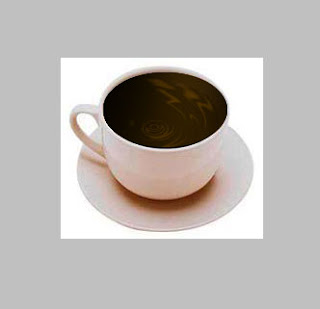
Do you like a coffee, don’t you? And now how to add some creams to our coffee in Photoshop? Its a very easy tutorial. In the beginning of tutorial we should find some appropriate picture with cup of coffee. You can find it on the Google Images or any website. Open up the picture and start the tutorial with me.
I would like to add some gradient to our dark liquid surface. Use the Elliptical Marquee Tool to create selection as shown on the picture below.
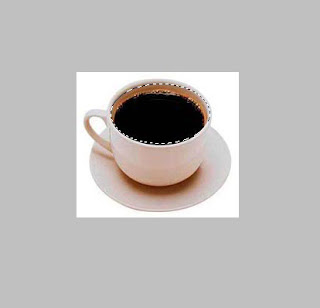
After that use Select > Modify > Feather to feather selection borders about 3 pixels to bring our future gradient more realistic view. Now select some appropriate colors, for example colors you can use #000000, #573700 and drag a linear gradient.
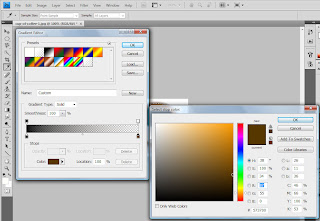
Remove selection with Ctrl+D and change layer mode to Screen for this layer. Now is the time to create coffee cream. Create new layer and add a few white spots with Brush Tool and a soft round brush.
Next step is applying Filter > Distort > Twirl with similar settings to these:
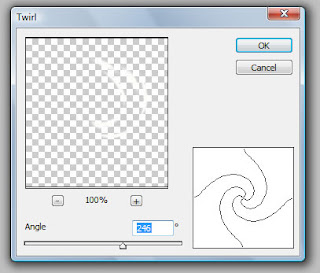
The result is like below:
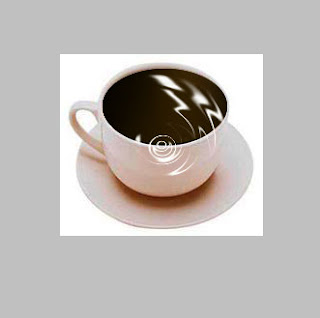
Apply another one Filter > Distort > ZigZag and set up next parameters for it:
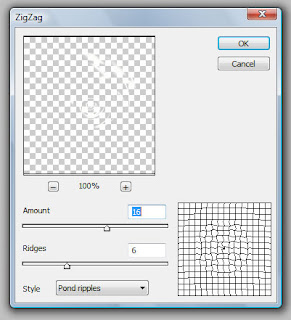
For the result look picture below:
To correct cream out of cup borders. Use Ctrl+T to reduce coffee cream size a little bit.
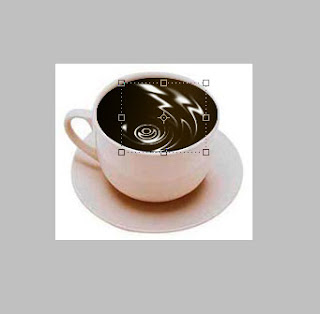
Then select the Eraser Tool and a soft round brush about 30 pixels and clear all the strokes out of liquid area.
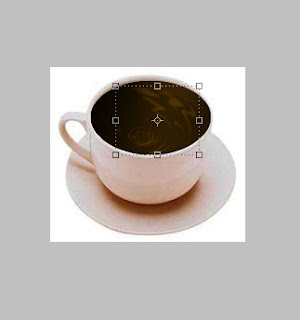
And the last one thing that we have to do is to change a little bit cream color. Change layer mode to Overlay for current layer.
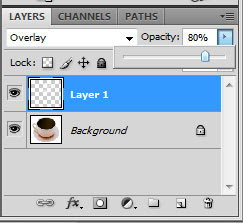
Ok, we are done for this tutorial. I hope you so.
Burning Font in Photoshop
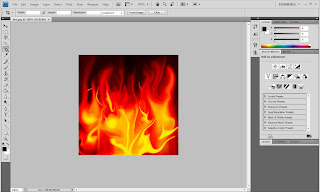
In this part I will guide you in Photoshop effect learning, we will learn how to create text on fire. in the beginning you should find appropriate picture of fire that you can find the picture on Google Images. Open up the picture and begin making this tutorial with me.
After image opened, we need to add the text to the canvas to work with. Get out the Horizontal Type Tool and write out something like ‘Font Burning’ with any color you want.

From image above, I don’t suggest you about font and size to use in this tutorial but it’s up to you.
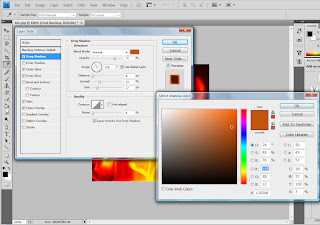
Next I would like to add some layer styles such as Drop Shadow, Outer Glow, Inner Glow, Satin and Color Overlay for this text layer.
Right Click on text layer than select Blending Option. Set some layer styles as show below;
Lets to the next step. Select the Smudge Tool (Brush: 10 px, Mode: Normal, Strength: 79%) and try to make some strokes as on my picture you can see below.
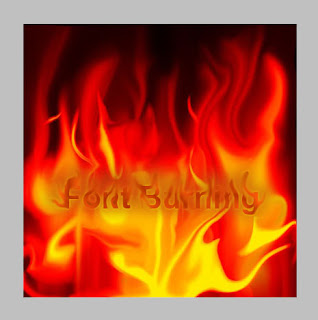
Then apply Filter > Liquify and play a little with different tools to get the result maximum similar to this picture below:
And the last one thing that we need to do is select the Eraser Tool and a soft round brush about 20 pixels (Opacity: 40%) and make some clear work to finish off the tutorial.
Monday, April 12, 2010
How to make different of hair in Photoshop
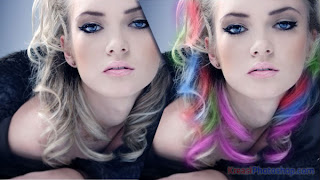
Did you think how to change your hair to different color? Here I will show you how to process it, add different shades and bring some shine to the hair.
First, you should find appropriate picture of woman with a long hair to work with. You can find the picture on Google Images but if you feel to use mine is welcome. open up your image from file > open and select it to open.
Image is ready for processing now. First thing you should make to bring some shine to the hair. Select the Dodge Tool (Brush: 100px, Range: Highlights, Exposure: 30%) and brightened some parts or you can change the Dodge tool setting to appropriate it , as shown below:
Next select the Sharpen Tool to add a bit of sharpness in some places.
And now is the time to coloring the hair. Make a new layer and create multiple strands with different colors on it. For this effect use the Polygonal Lasso Tool to create selection and fill selected area with any colors that you want.
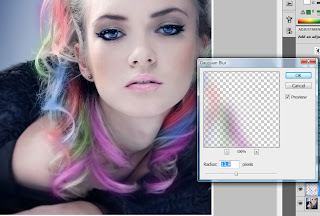
Remove selection with Ctrl+D and apply Filter > Blur > Gaussian Blur with next presets:
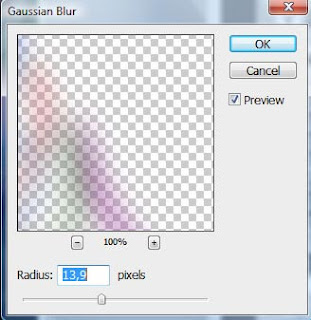
Change layer mode to Overlay and the result as below:
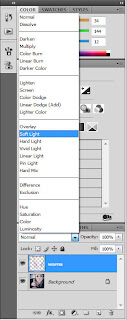
Change layer mode to Soft Light and you will see the result.
To increase the intensity of color duplicate layer with Ctrl+J and set opacity to 60% up for this layer.
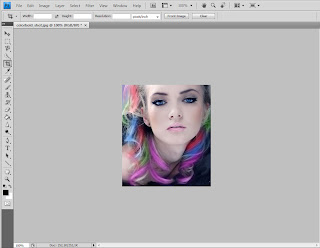
On this step we are done with this tutorial. We can see the difference before and after process as shown below.

And now you can change your hair happiness in Photoshop.


