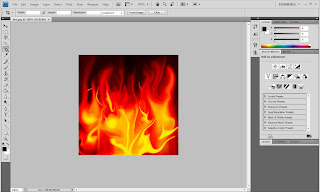
In this part I will guide you in Photoshop effect learning, we will learn how to create text on fire. in the beginning you should find appropriate picture of fire that you can find the picture on Google Images. Open up the picture and begin making this tutorial with me.
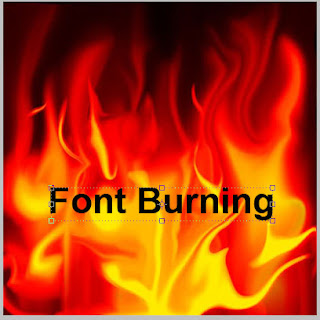
After image opened, we need to add the text to the canvas to work with. Get out the Horizontal Type Tool and write out something like ‘Font Burning’ with any color you want.

From image above, I don’t suggest you about font and size to use in this tutorial but it’s up to you.
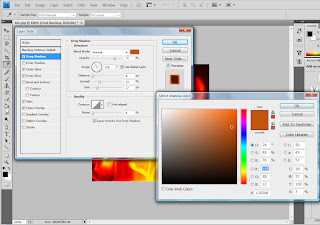
Next I would like to add some layer styles such as Drop Shadow, Outer Glow, Inner Glow, Satin and Color Overlay for this text layer.
Right Click on text layer than select Blending Option. Set some layer styles as show below;

Lets to the next step. Select the Smudge Tool (Brush: 10 px, Mode: Normal, Strength: 79%) and try to make some strokes as on my picture you can see below.

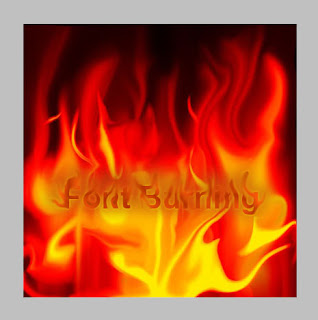
Then apply Filter > Liquify and play a little with different tools to get the result maximum similar to this picture below:
And the last one thing that we need to do is select the Eraser Tool and a soft round brush about 20 pixels (Opacity: 40%) and make some clear work to finish off the tutorial.


No comments:
Post a Comment